How We Use Clay to Teach Children About Anatomy and Sculpture
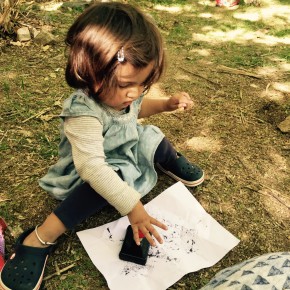
Clay turns an abstract lesson into something children can hold, alter and understand. A bone is no longer just a word in a book when a child rolls a firm cylinder for an arm or bends a piece to show a joint. The material gives shape to curiosity, while the act of making encourages close observation.
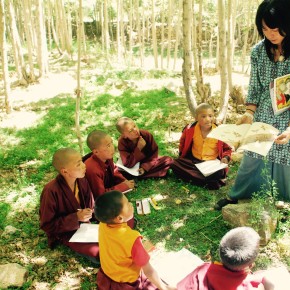
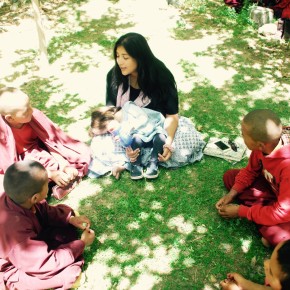
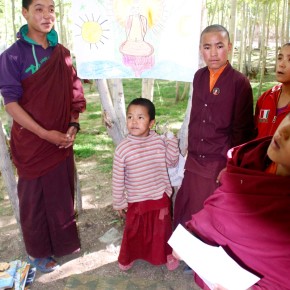
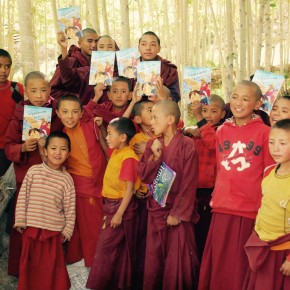
In Ladakh and other Himalayan communities, this approach is especially valuable where books, laboratory equipment and specialist art resources may be limited. A small amount of clay can support lessons in biology, visual art, language and collaboration. Children can learn through touch, conversation and repeated experimentation rather than relying on memorisation alone.
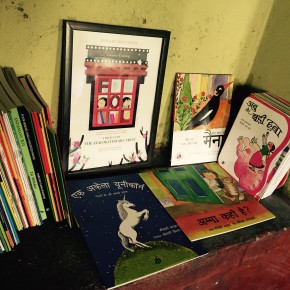
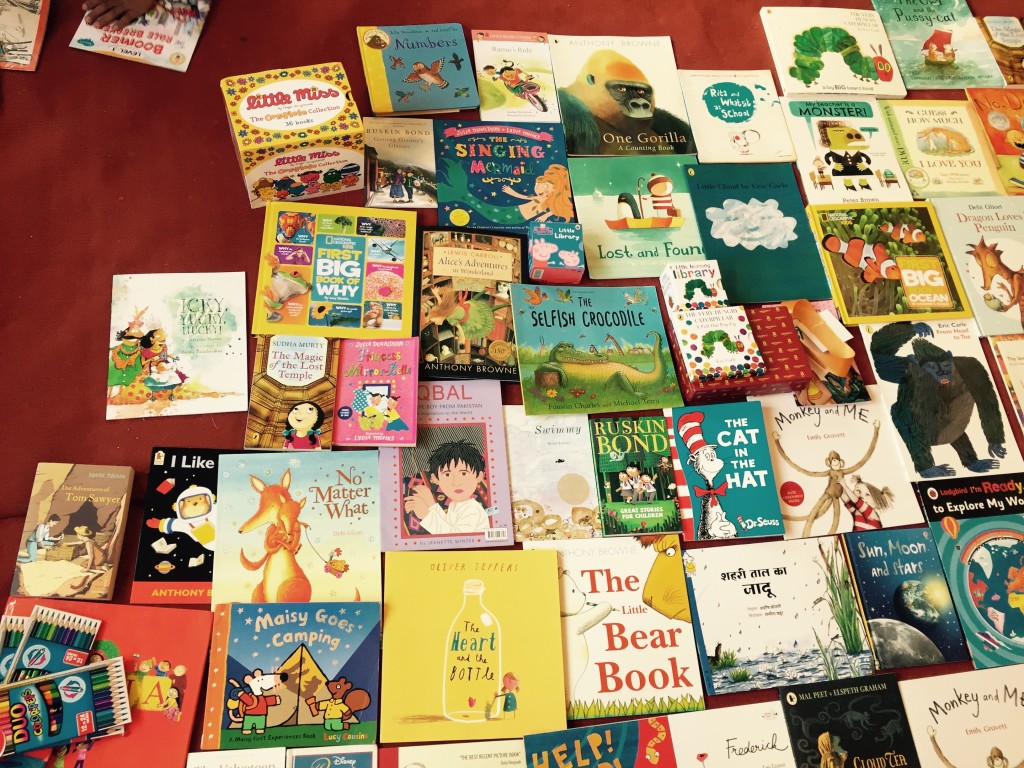
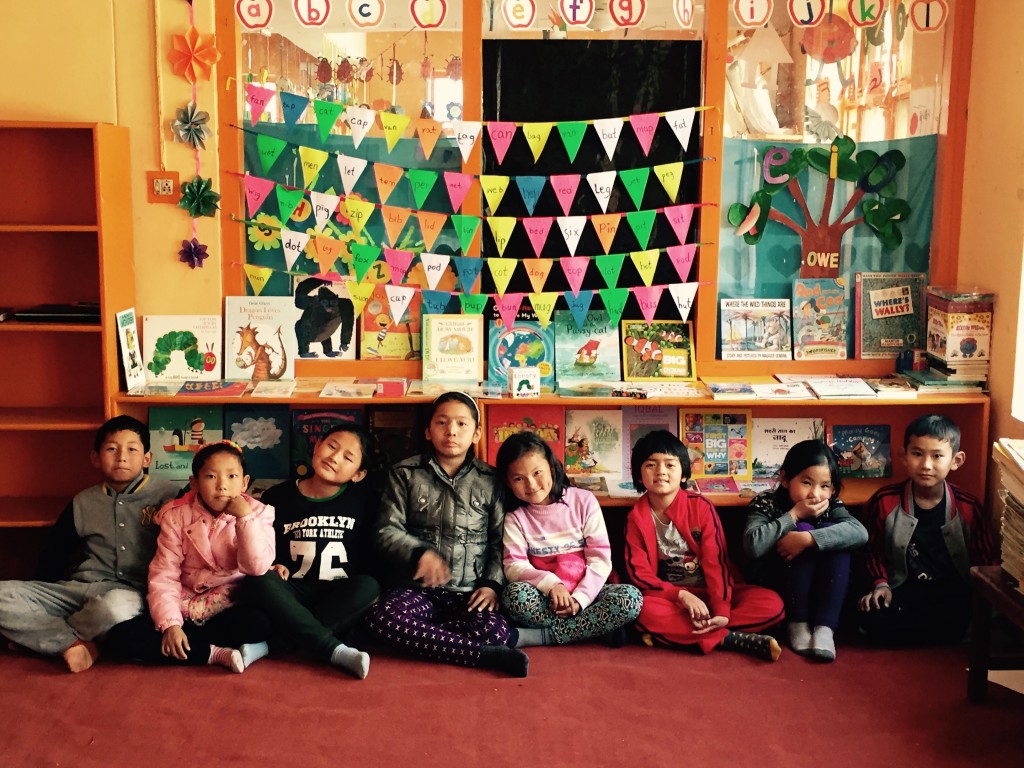
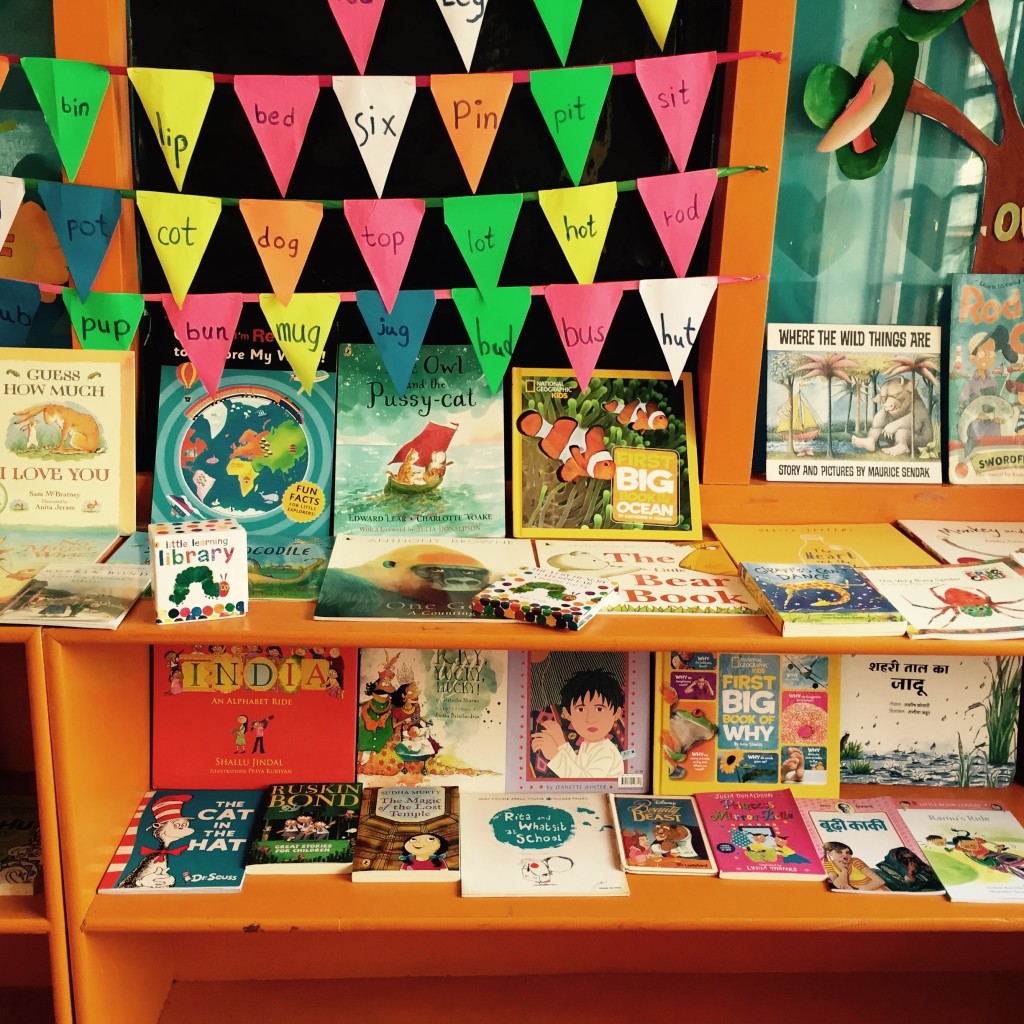
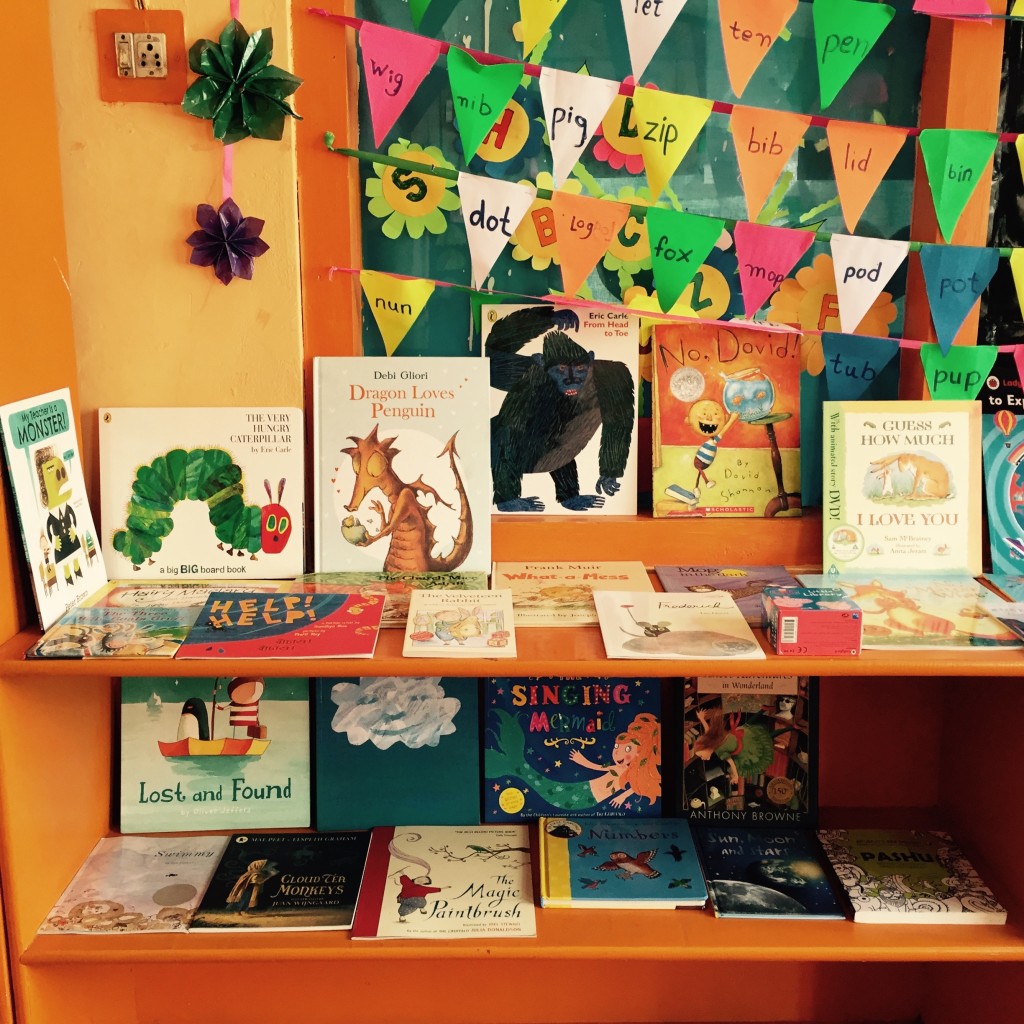
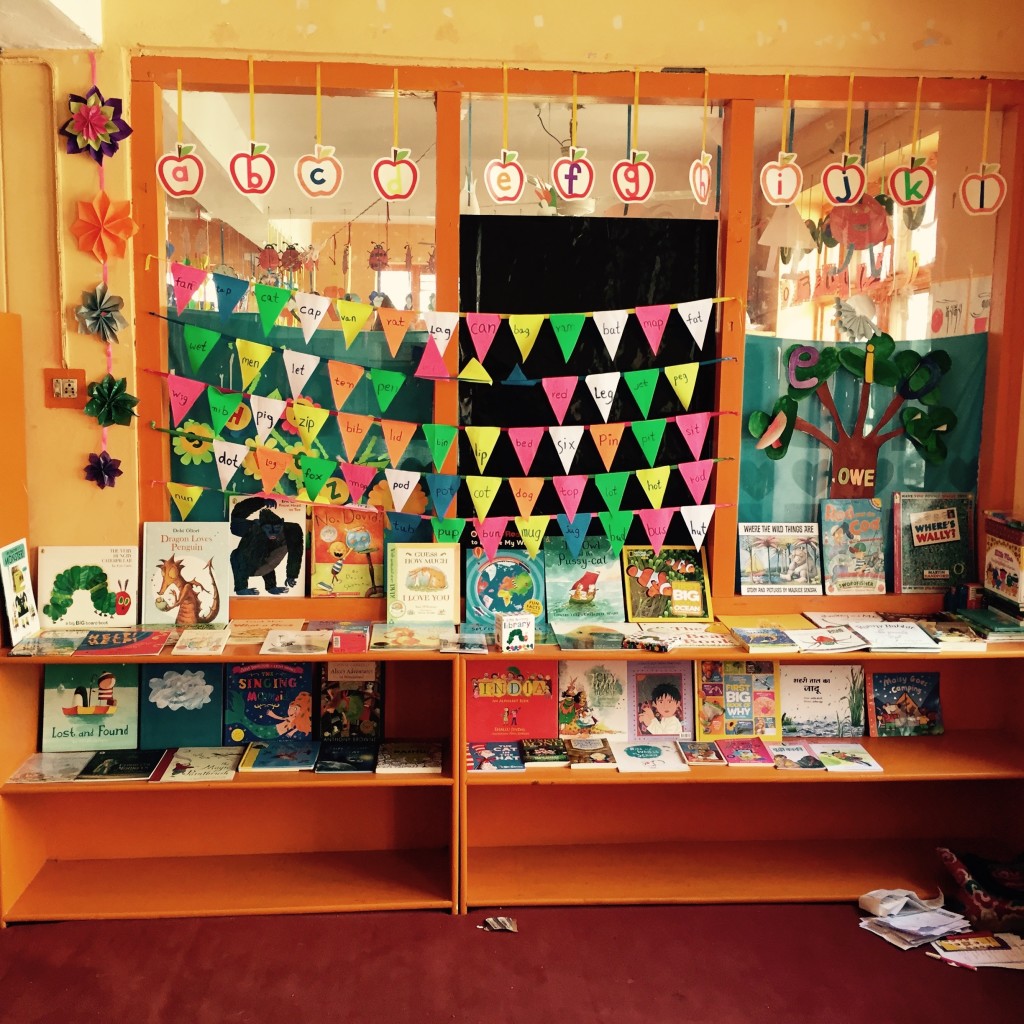
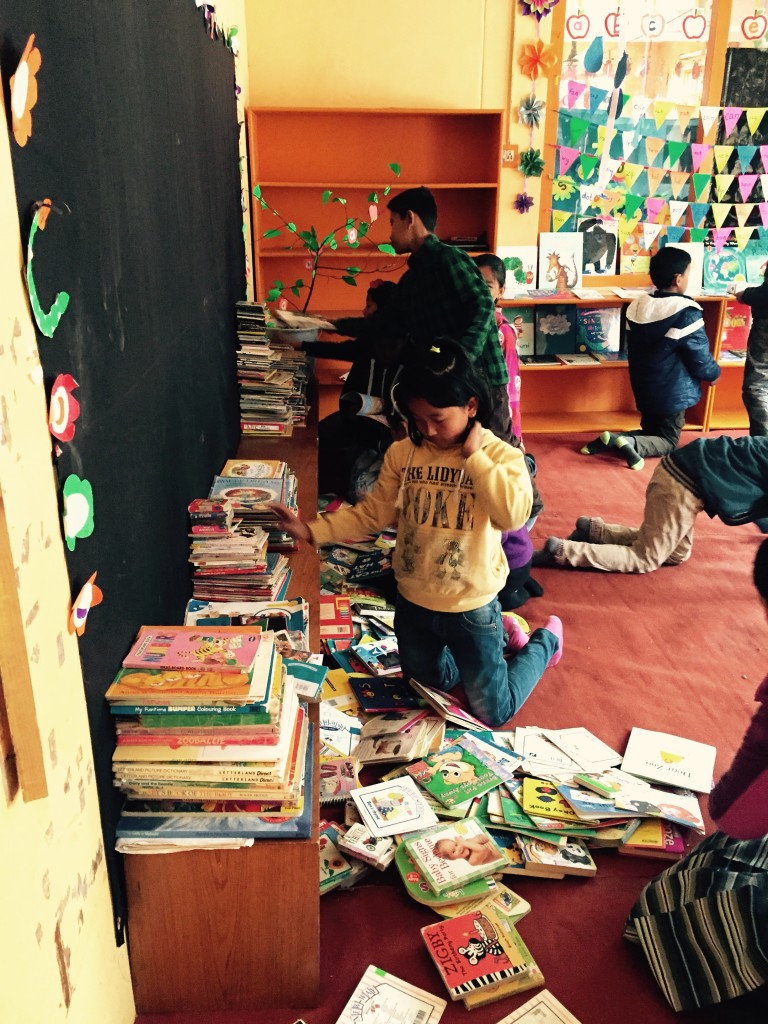
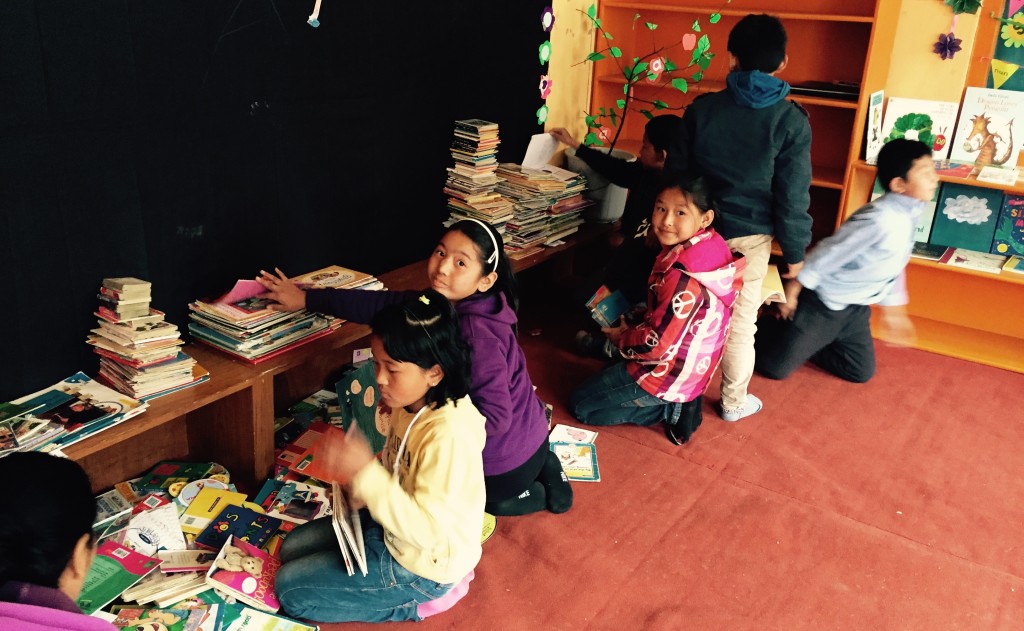
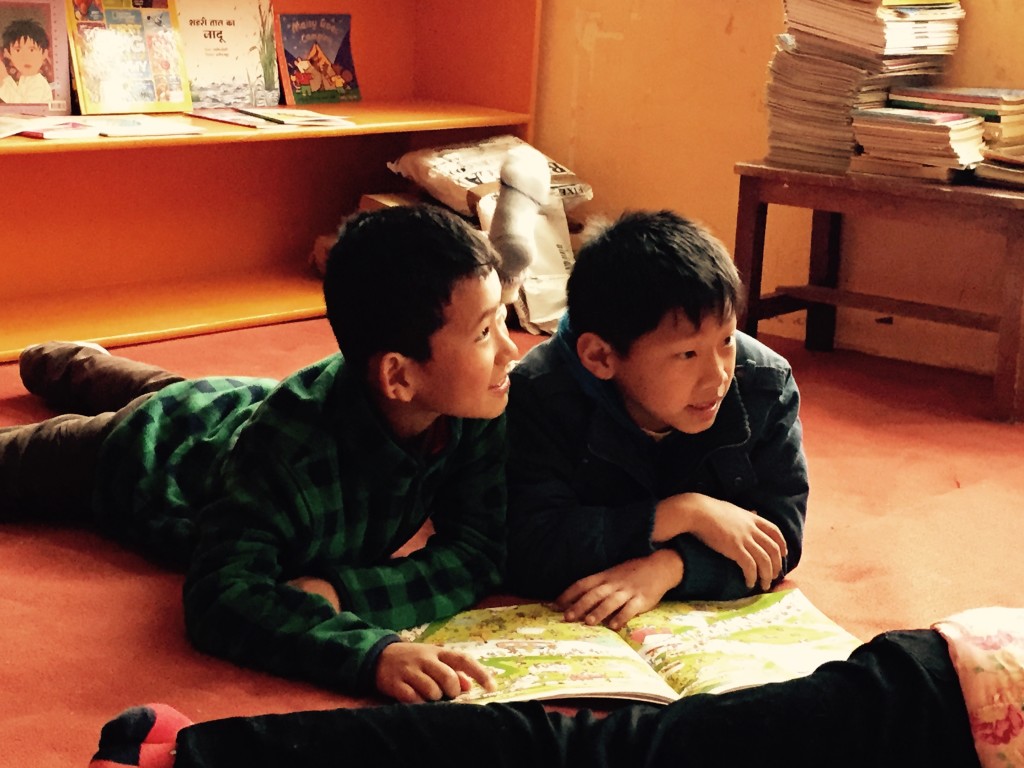
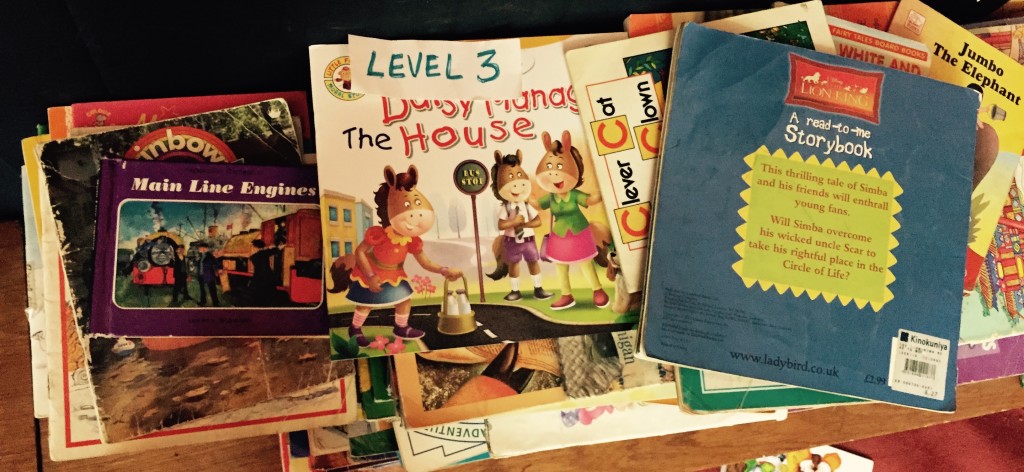
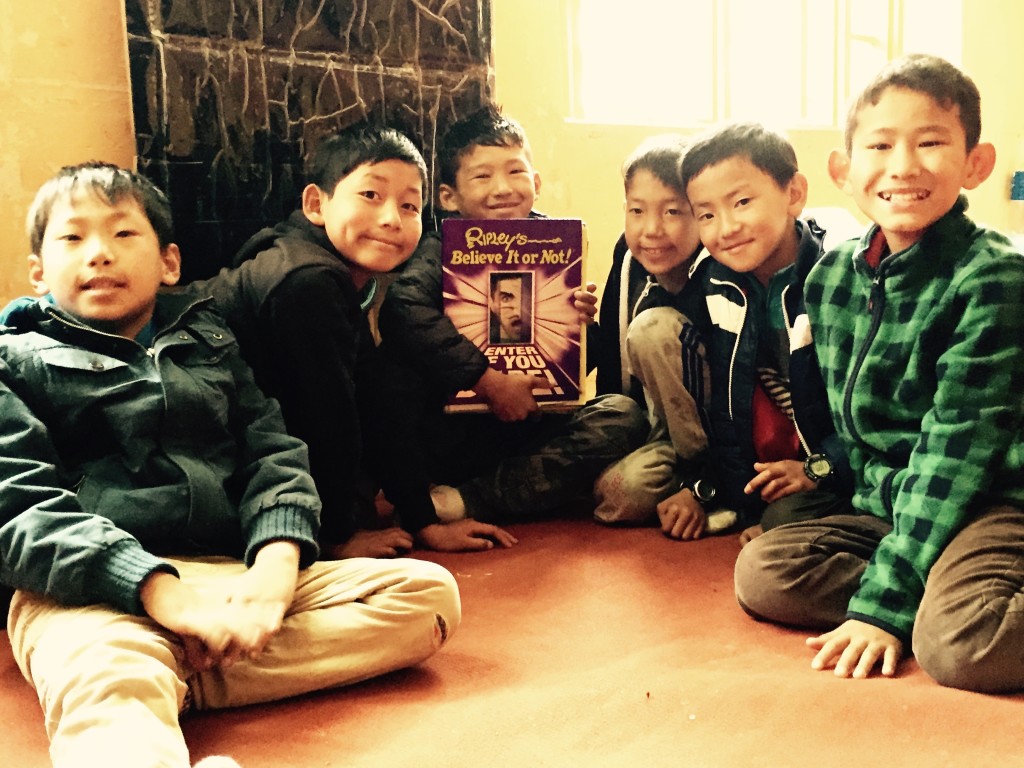
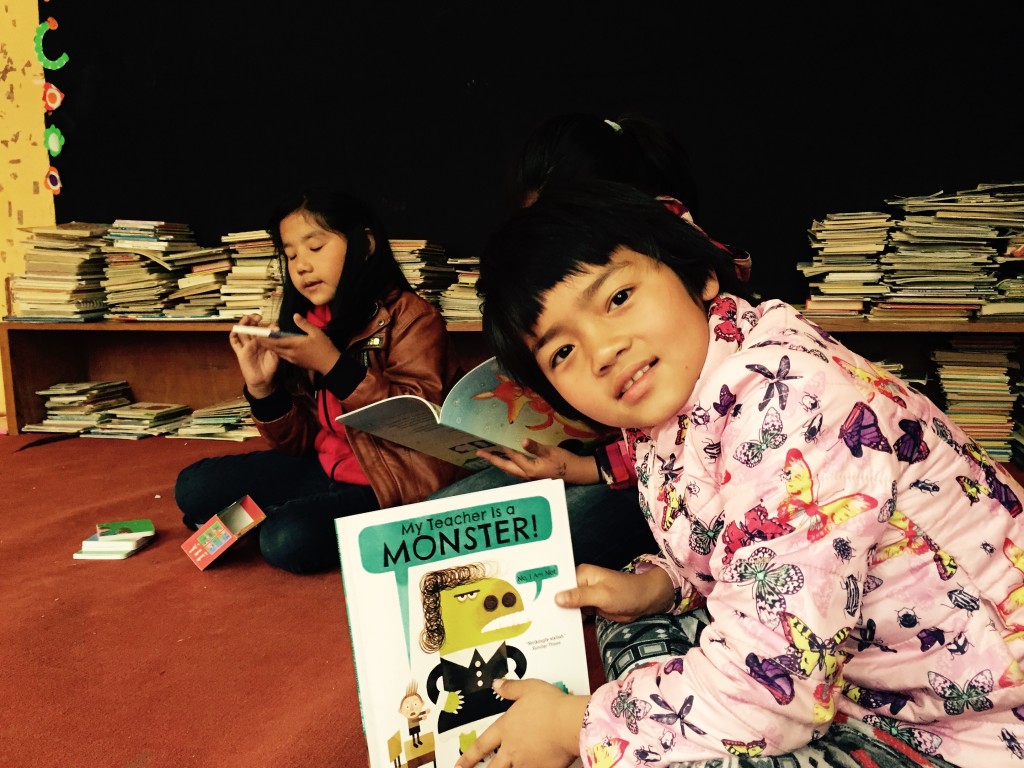
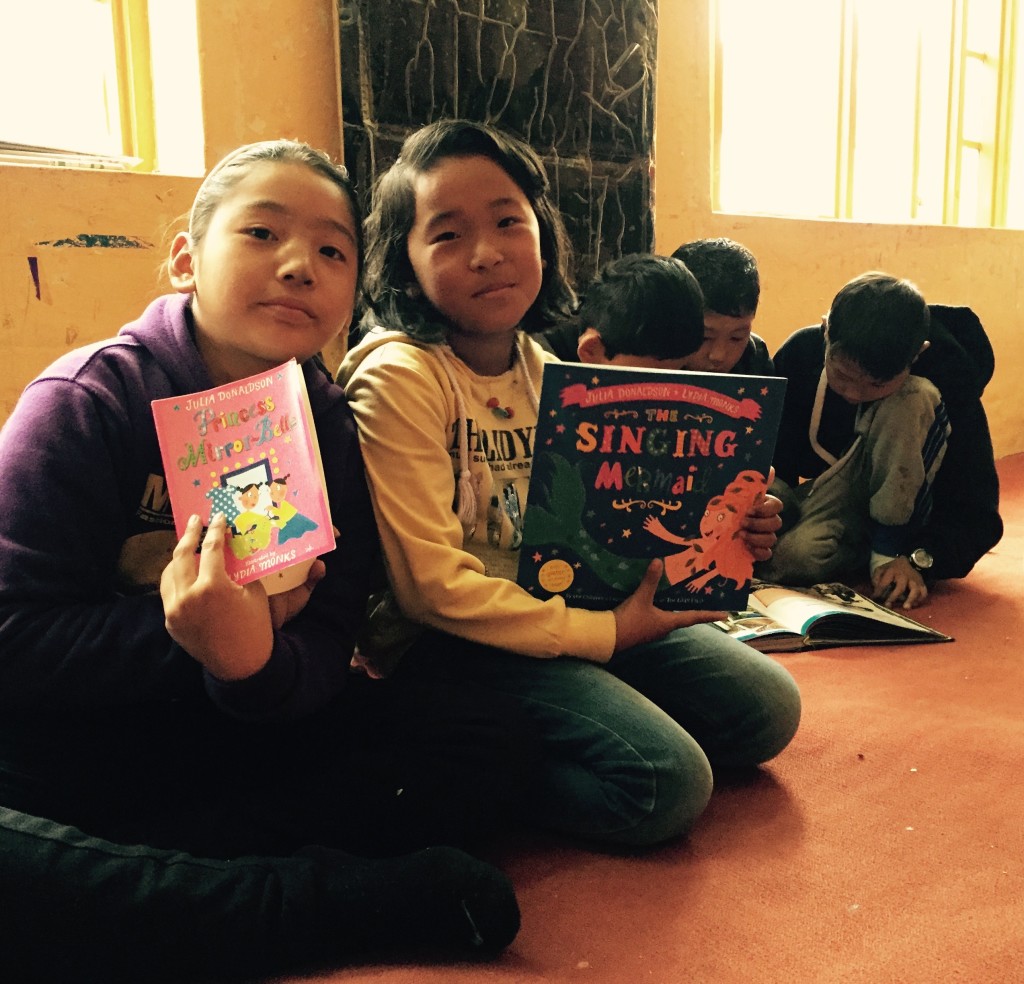
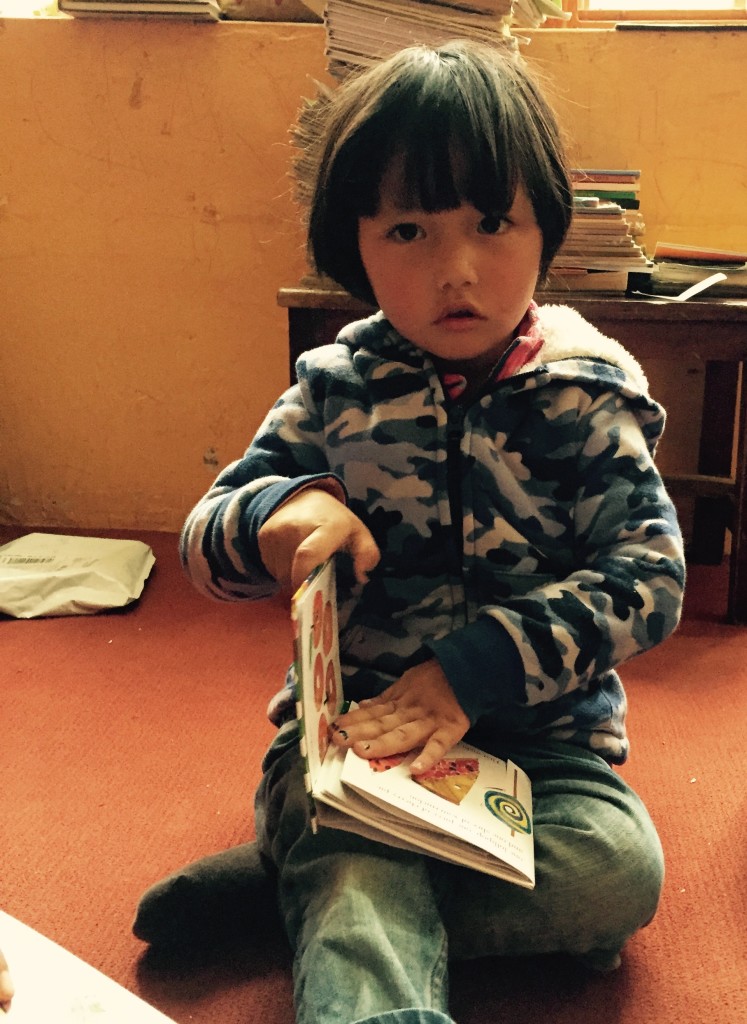
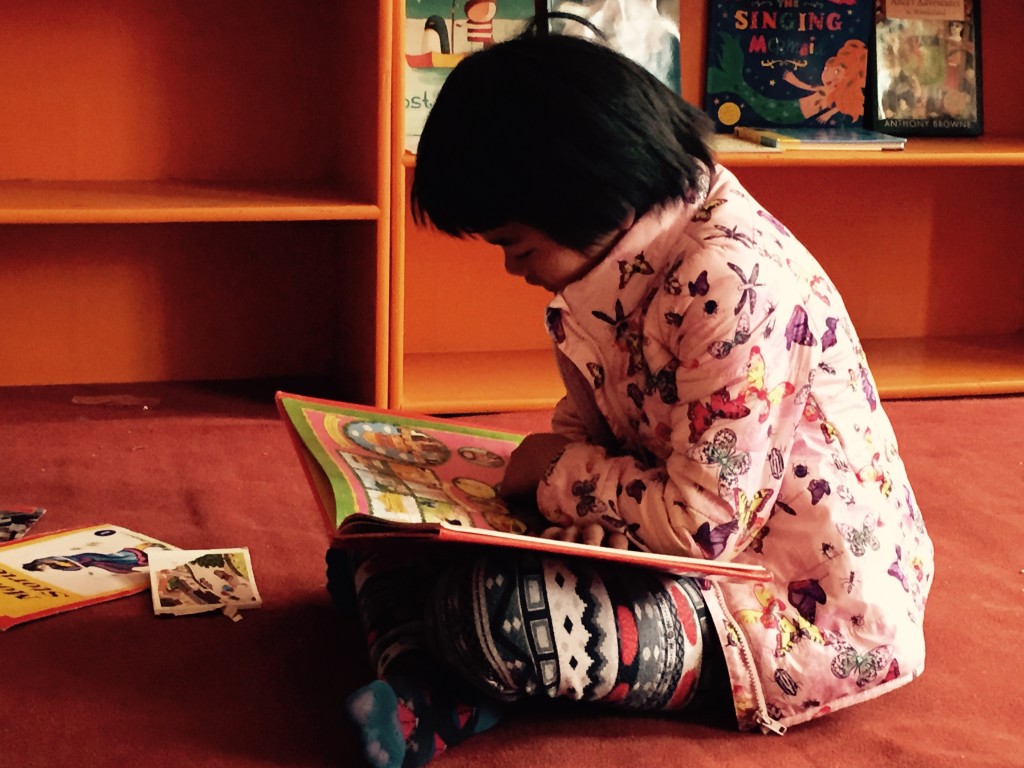
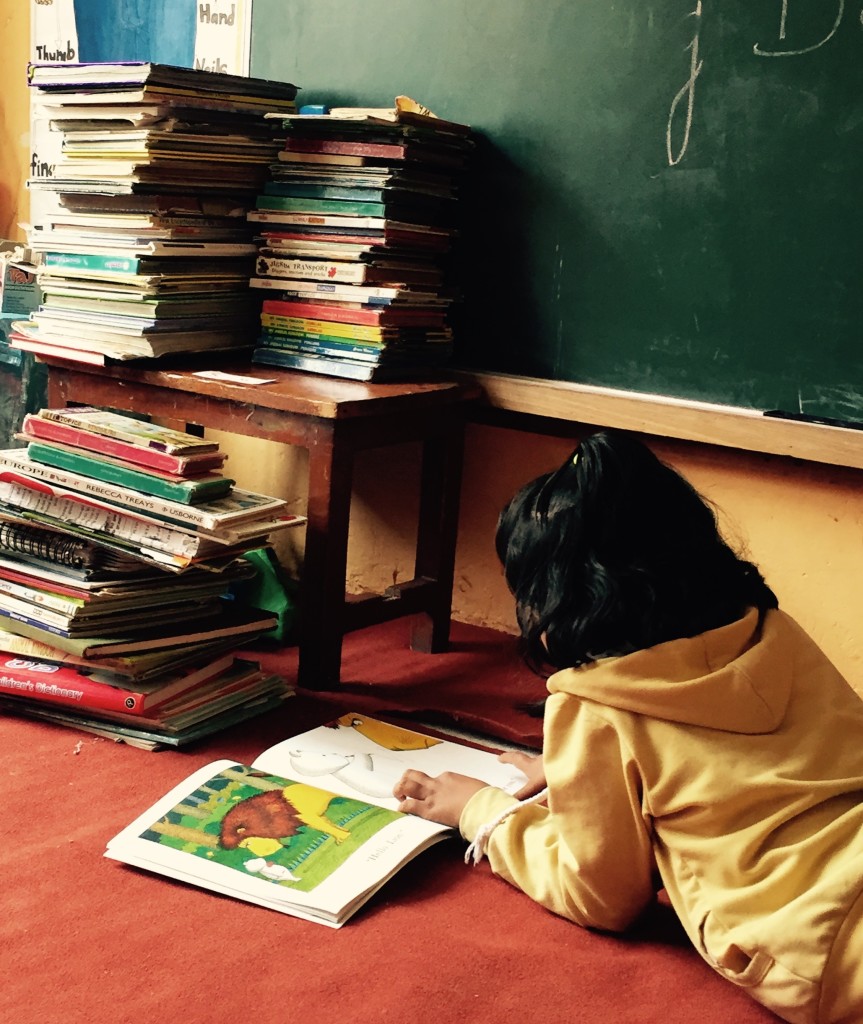
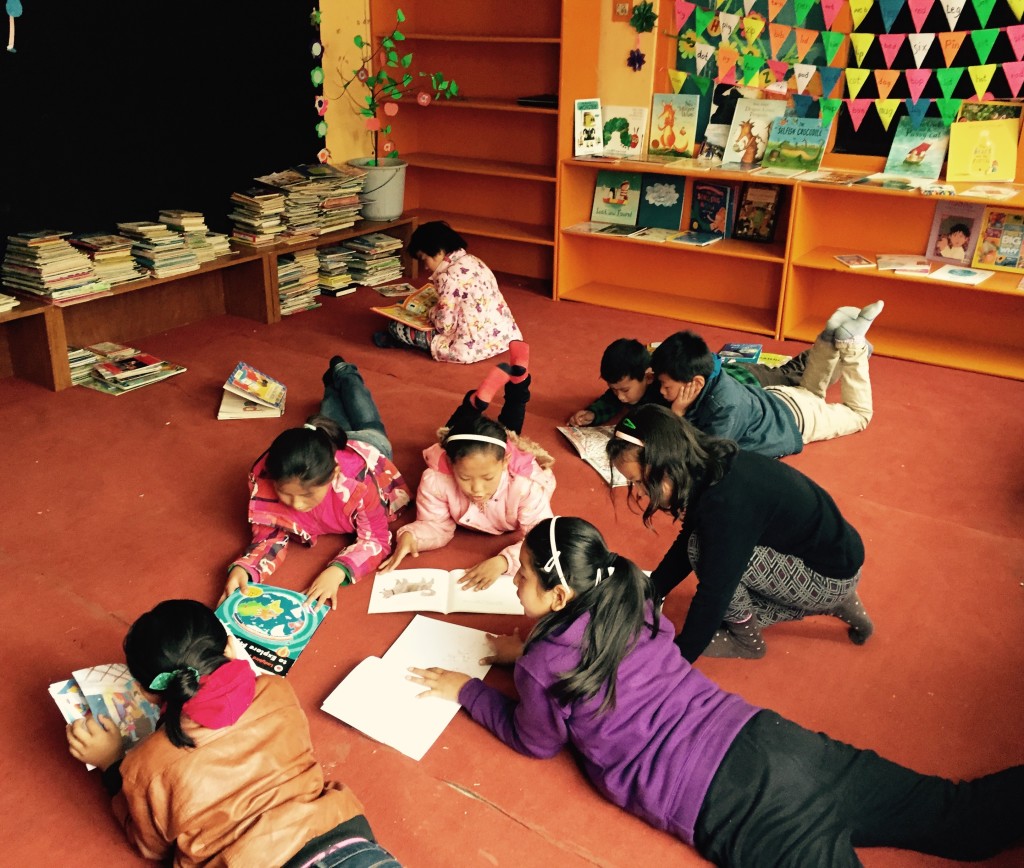
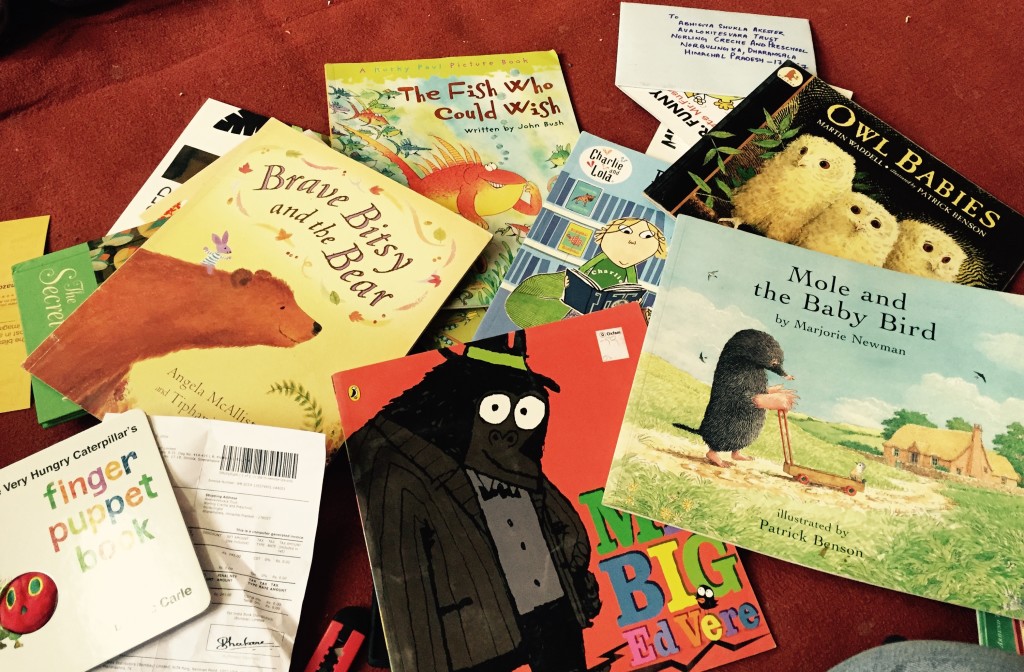
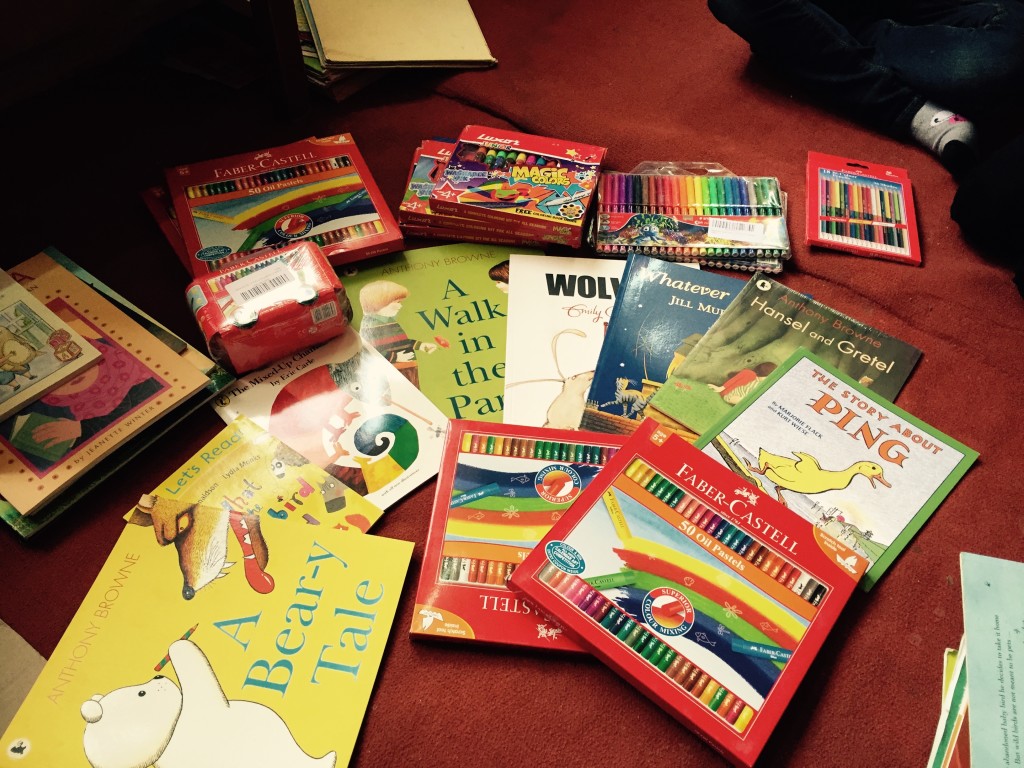
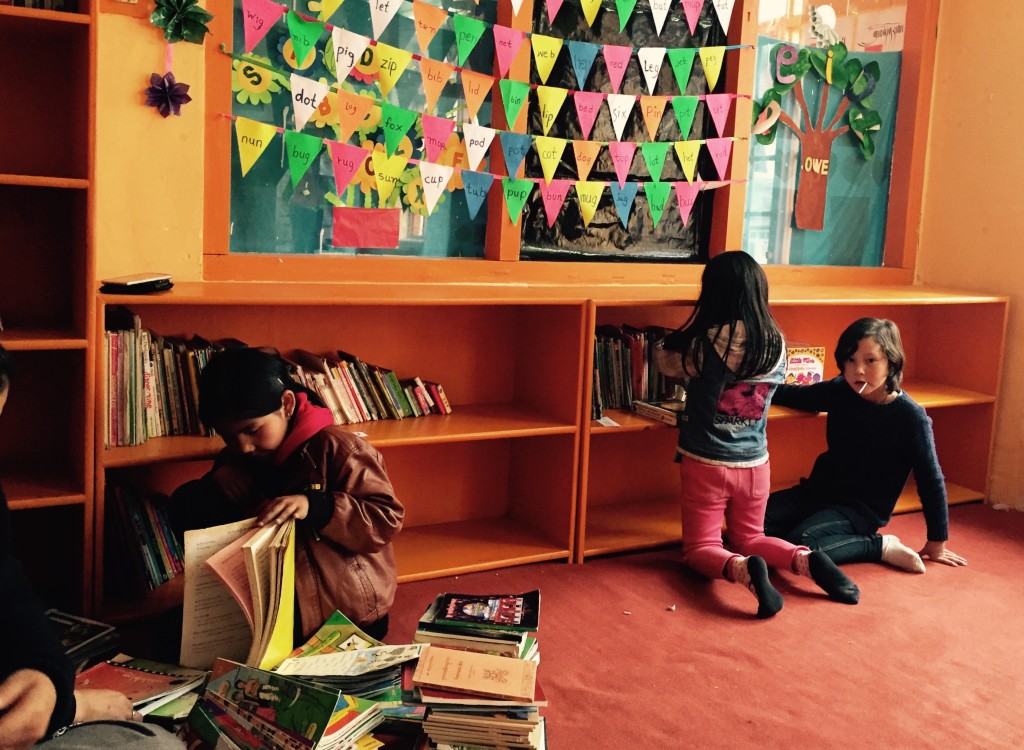
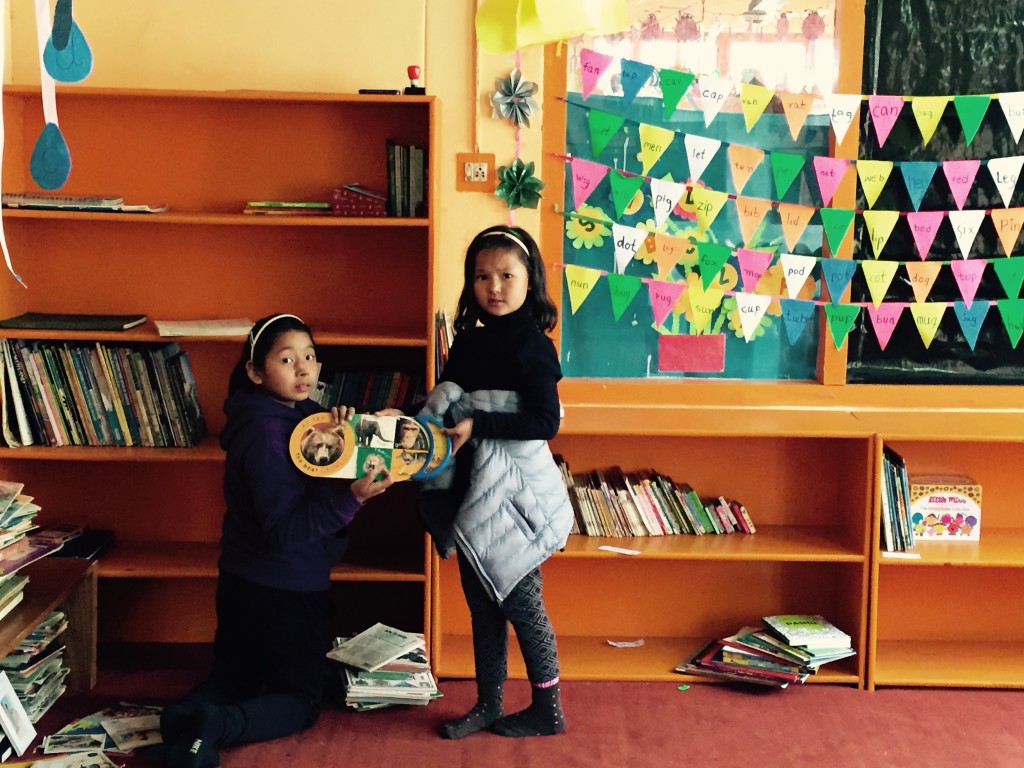
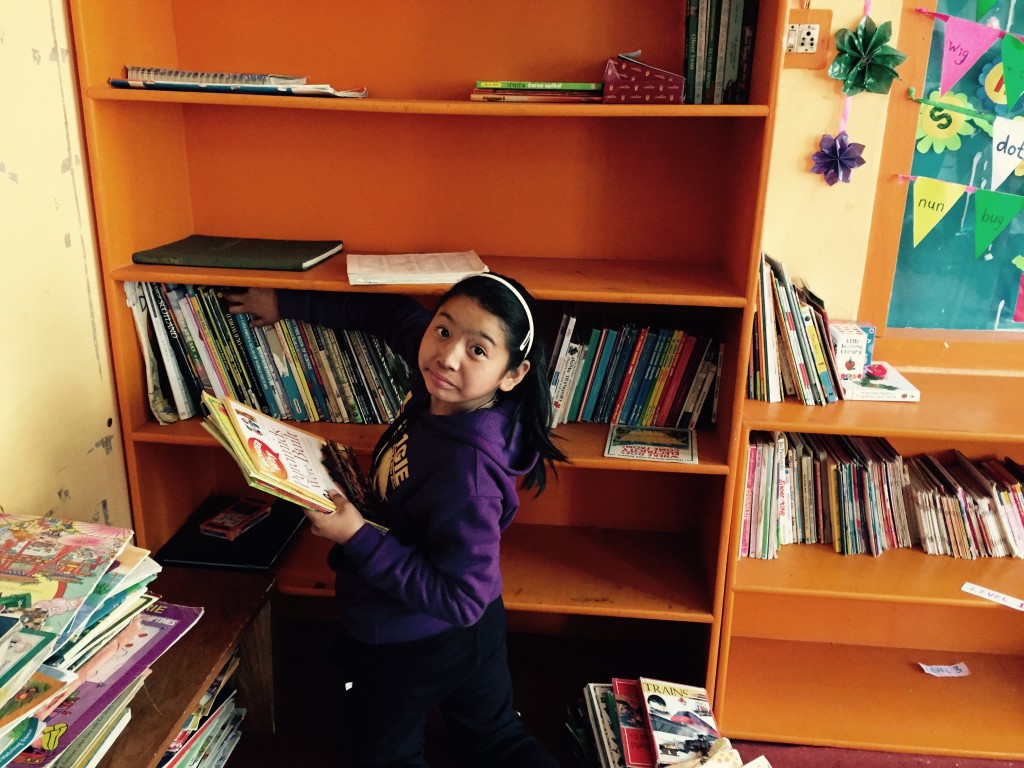
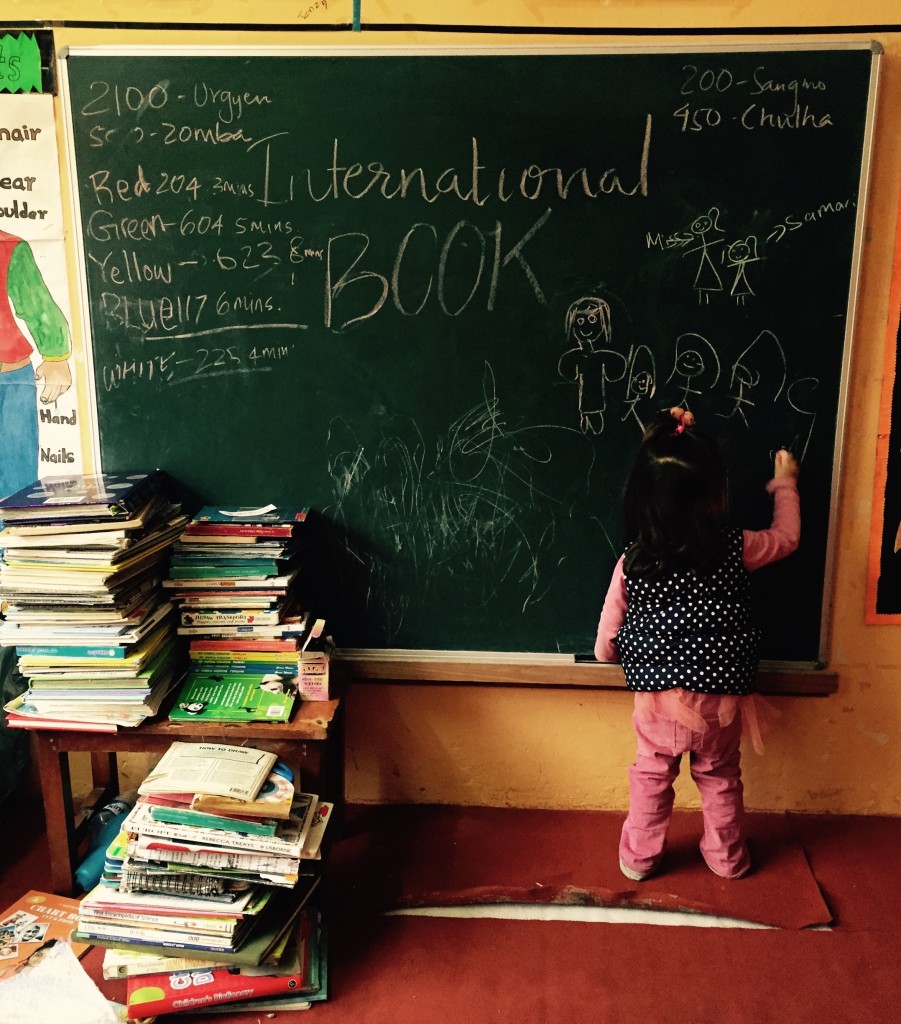
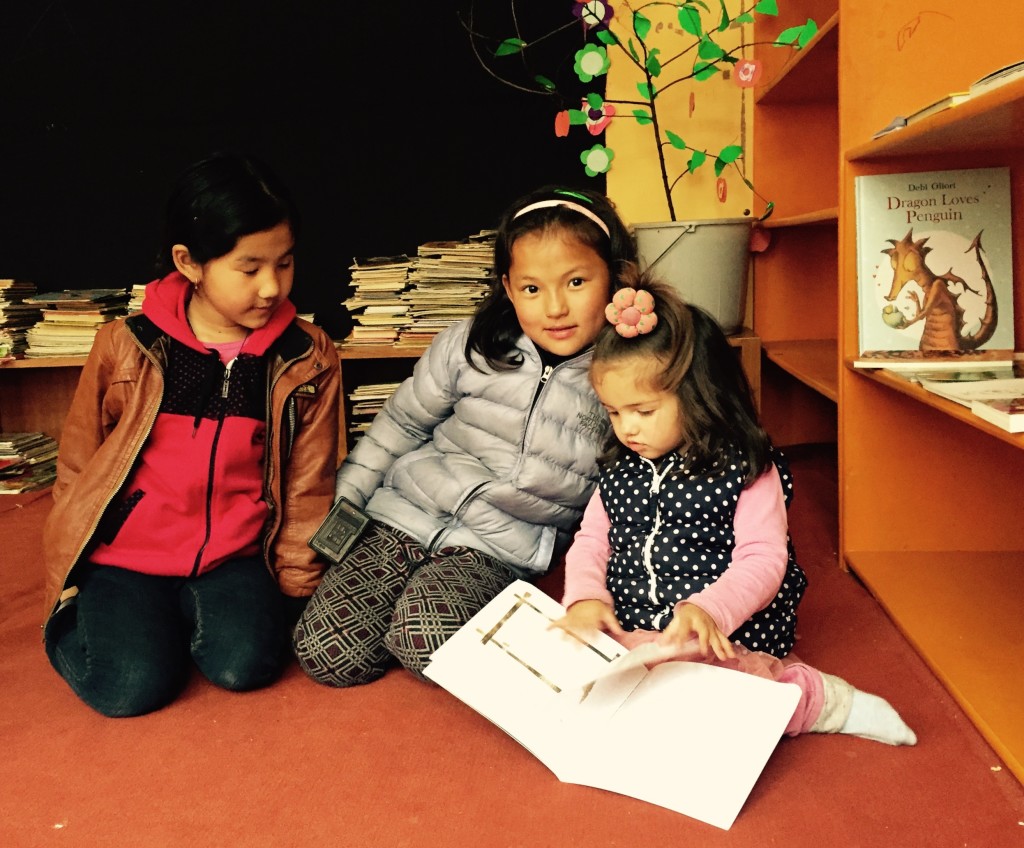
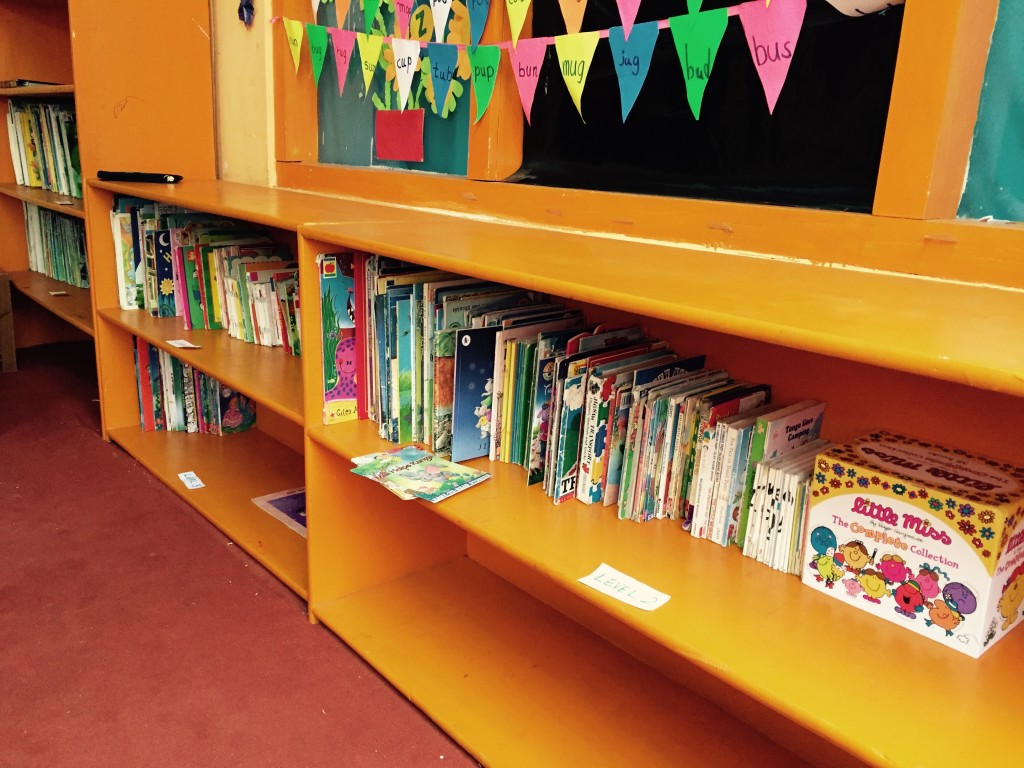
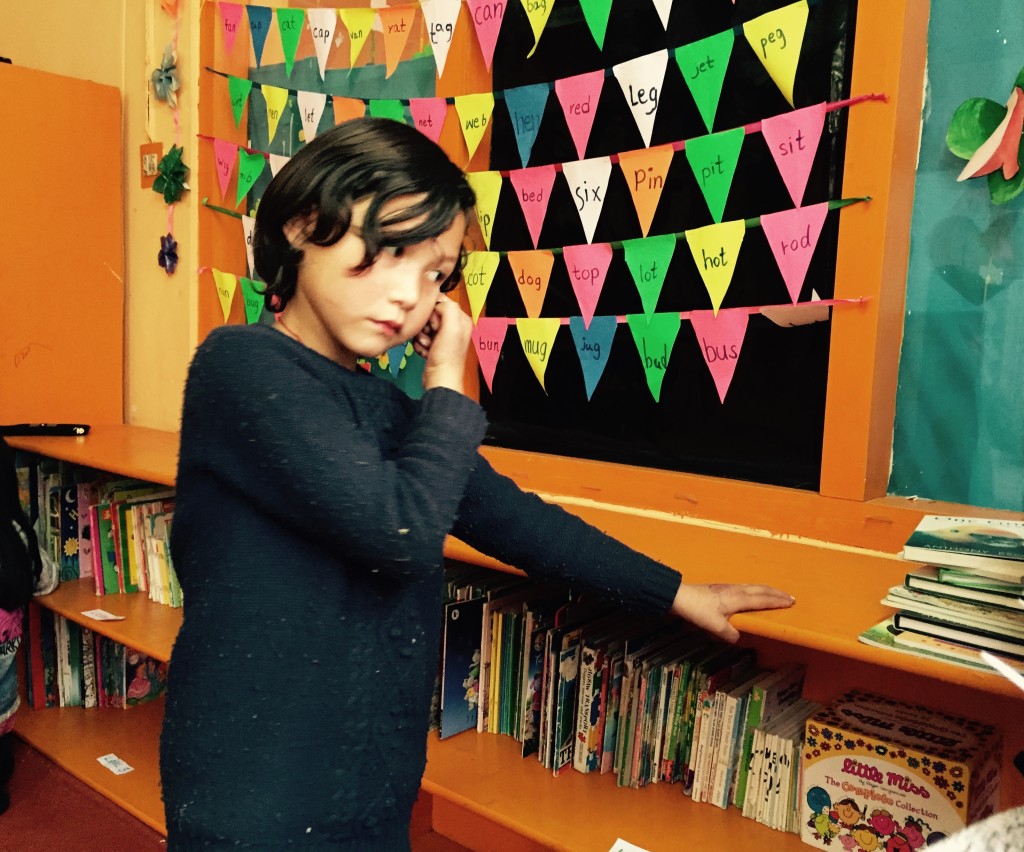
The work also suits the educational aims of the Avalokiteśvara Trust site, where reading rooms, creative activities and access to quality learning materials help young people develop confidence. Clay sessions create another kind of reading: children learn to interpret bodies, gestures, proportions and three-dimensional forms.
For Australian supporters, the method offers a clear example of how modest resources can produce rich learning. It connects with school holiday art programmes in Melbourne, library workshops in Brisbane and the practical, hands-on spirit found in many Australian classrooms. The lesson is simple: children learn deeply when their hands are given a meaningful task.
Why Clay Works Across Subjects
Clay is forgiving. If a model collapses, the child can rebuild it without wasting a costly sheet of paper or feeling that the work is permanently ruined. This makes the material useful for learners who are shy about drawing, still developing fine motor skills or learning in a second language.
Anatomy and sculpture naturally meet in the study of form. Children notice that a human figure is built from volumes: the skull is rounded, the ribcage is curved, the pelvis is broad and stable, and limbs narrow towards the hands and feet. These observations introduce proportion and structure without making the lesson feel like a test.
The process also develops vocabulary. While shaping a model, children can practise words such as spine, shoulder, elbow, wrist, muscle, balance and symmetry. They can describe what they have changed and explain why a figure stands, bends or falls. Art becomes a setting for clear speech and shared thinking.
From Observation to Form
A workshop usually begins with looking. The educator may show a simple anatomical illustration, a small sculpture or a photograph of someone walking. Children identify the largest shapes before adding details. This order prevents them from becoming absorbed in eyes, fingers or clothing before understanding the body’s overall movement.
A useful first exercise is the “body map”. Children make a long central piece for the spine, add a ribcage as an oval shell and attach smaller forms for the shoulders, pelvis and limbs. The model does not need to be medically exact. Its purpose is to demonstrate connection, balance and the relationship between parts.
Once the basic figure is stable, children can explore posture. A seated figure requires a different arrangement of weight from a standing figure. A reaching figure needs an extended shoulder and a counterbalancing leg. These changes teach physical principles through sculpture, giving children a practical understanding of gravity and movement.
Anatomy Through Hands-On Making
Clay provides a gentle way to discuss the body without turning children into passive observers. A facilitator can invite them to model the skeleton first, then cover it with simplified muscle forms. This layered approach shows that the body is organised rather than a collection of unrelated pieces.
The lesson can be adapted for different ages. Younger children might make a hand, foot or face and focus on counting fingers, identifying joints and noticing left-right symmetry. Older children can create a cross-section of the eye, ear or heart, using colour-coded clay to distinguish major structures. The educator should keep explanations accurate while avoiding unnecessary technical detail.
Touch is important, but consent and dignity matter just as much. Children should work from diagrams, clothed reference photographs or their own models rather than being pressured to pose or discuss personal bodies. Clear language helps establish a respectful classroom culture, especially when anatomy lessons include puberty, disability or physical difference.
The finished pieces can become teaching tools in a reading room. A child may point to a clay spine while retelling a book about health, animals or movement. Another may compare a human hand with a bird’s foot. In this way, sculpture reinforces literacy and invites further research.
Sculpture With Cultural Context
Sculpture carries meaning beyond technique. In Himalayan communities, children may encounter religious figures, animals, household objects and landscape forms in their daily lives. A lesson can acknowledge these visual traditions without copying sacred images casually or treating local culture as decoration.
Educators can begin with familiar subjects: a yak, a mountain, a water vessel, a shoe or a person carrying a load. These objects encourage observation of texture, weight and balance. Children can then compare realistic modelling with symbolic or imaginative forms, learning that sculpture may record the world, communicate an idea or express a feeling.
Respectful cultural exchange is equally important when Australian visitors or donors support activities. An Australian group might discuss public sculpture in Sydney, the sandstone forms around Canberra or community art in regional towns, while making space for Himalayan children to explain their own references. Aboriginal and Torres Strait Islander motifs should never be borrowed without proper permission, context and community guidance.
Clay can also connect children with the surrounding environment. Local soil, stones and plants may inspire textures or patterns, provided materials are collected safely and responsibly. The aim is not to make a replica of a famous artwork. It is to help children see that their own landscape and experiences are worthy sources of artistic knowledge.
A Workshop That Welcomes Every Child
A successful session needs careful preparation. The clay should be divided into manageable portions, tables covered, tools checked and handwashing arranged. Air-drying clay is often convenient, although locally available earth-based clay can be suitable when it has been prepared safely and consistently.
Australian organisations considering similar activities may find modelling clay, sculpting tools and washable table coverings through local art suppliers, educational retailers or the Australian craft market. Costs vary between metropolitan and regional areas, so reusing boards, storing clay properly and choosing durable tools can make a programme more sustainable.
The room should allow children to work at different speeds. Some may finish a figure quickly, while others need time to strengthen a joint or repair a crack. Pair work can support younger learners, and children with limited hand strength may use rollers, moulds or larger pieces. Inclusion means adapting the process without lowering the intellectual value of the task.
Good facilitation is quieter than a demonstration that takes over the room. The adult models one technique, then observes, names useful discoveries and asks children to explain their choices. Praise should focus on careful looking, persistence and problem-solving rather than making one “perfect” sculpture.
Practical Ways To Support Clay Learning
Simple decisions can make a clay anatomy and sculpture programme safer, richer and easier to repeat across reading rooms or youth centres.
- Use diagrams and clear reference images before asking children to model complex body parts.
- Begin with large connected forms, then add smaller details only after the structure is stable.
- Keep tools blunt, supervise shared equipment and establish a handwashing routine.
- Offer seated, standing and supported work options for children with different physical needs.
- Photograph finished models with the maker’s permission and record the child’s explanation beside the image.
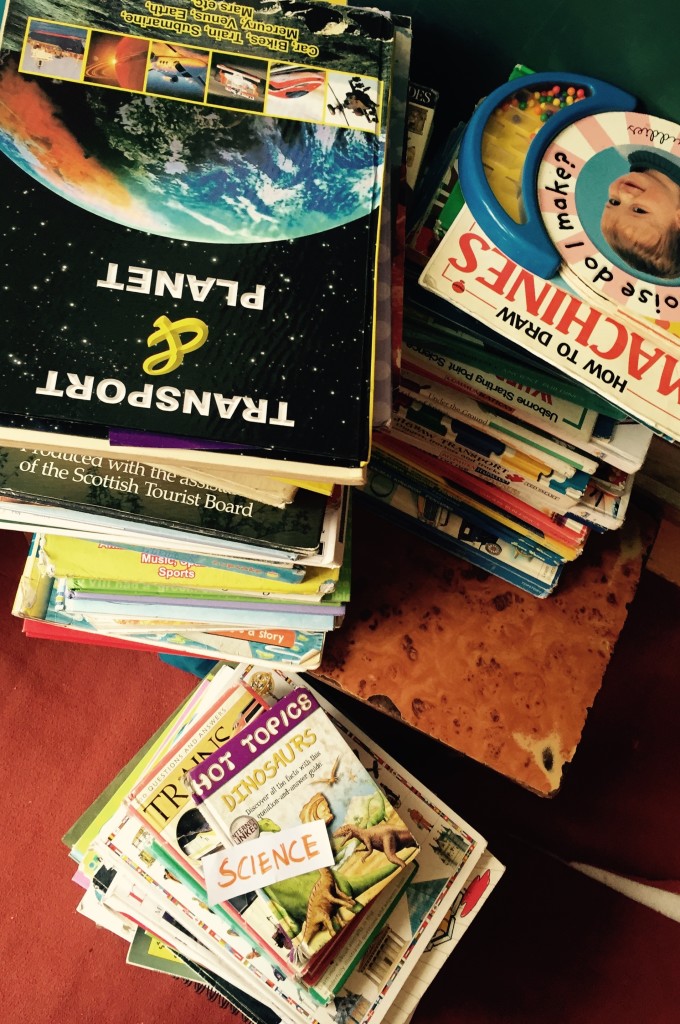
- Link each session to a story, science text, local object or artistic tradition.
- Store successful models as a small teaching collection for future groups.
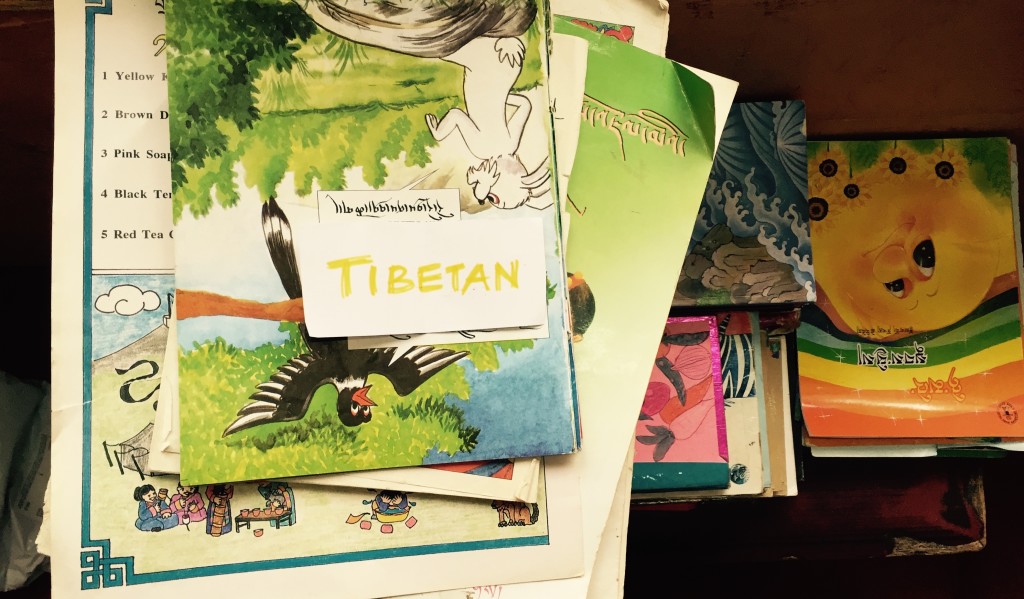
Documentation helps an educational activity continue beyond a single afternoon. A photograph paired with a child’s words can become a bilingual display, a reading prompt or a report for supporters. It also gives children ownership of their ideas and shows that their creative work has lasting value.
The strongest evidence of learning is often visible in the changes children make. A first figure may have disconnected limbs; a later model may show careful joints, a stable stance and a clear explanation of the skeleton beneath the surface. Those changes reveal growing knowledge more effectively than a worksheet alone.
Clay encourages children to think with their hands, test an idea and revise it without embarrassment. Through anatomy, they learn how bodies are organised; through sculpture, they learn how form can communicate observation, memory and imagination. A practical takeaway is to begin with one simple body shape, one clear reference image and enough time for every child to reshape the work until it stands for what they have learned.